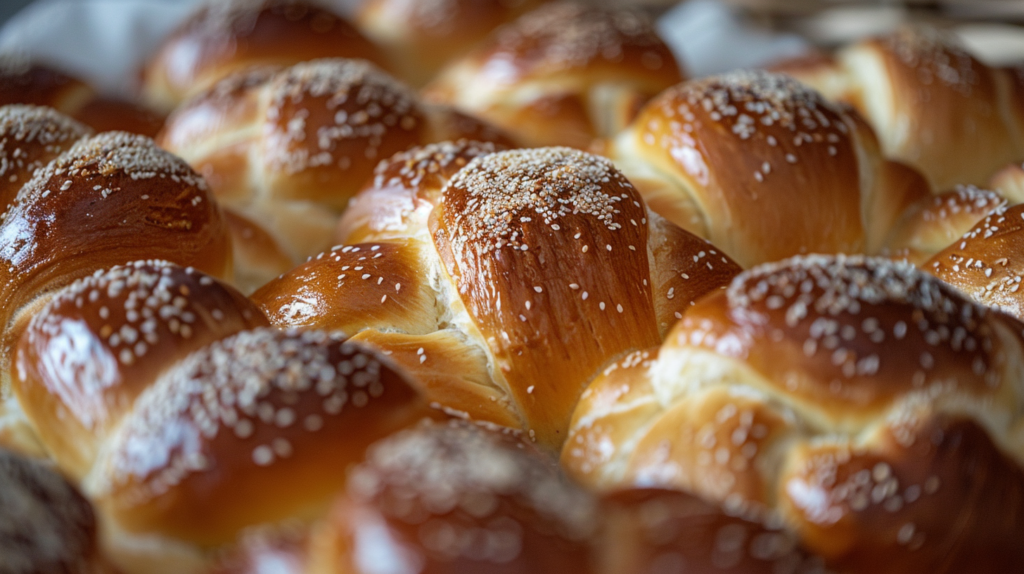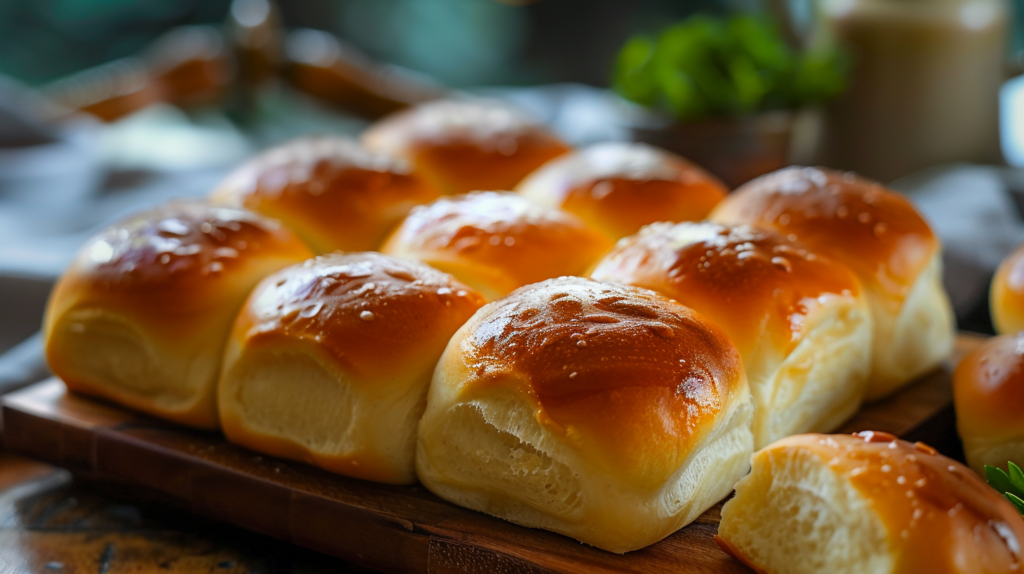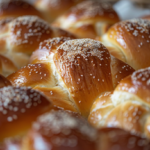
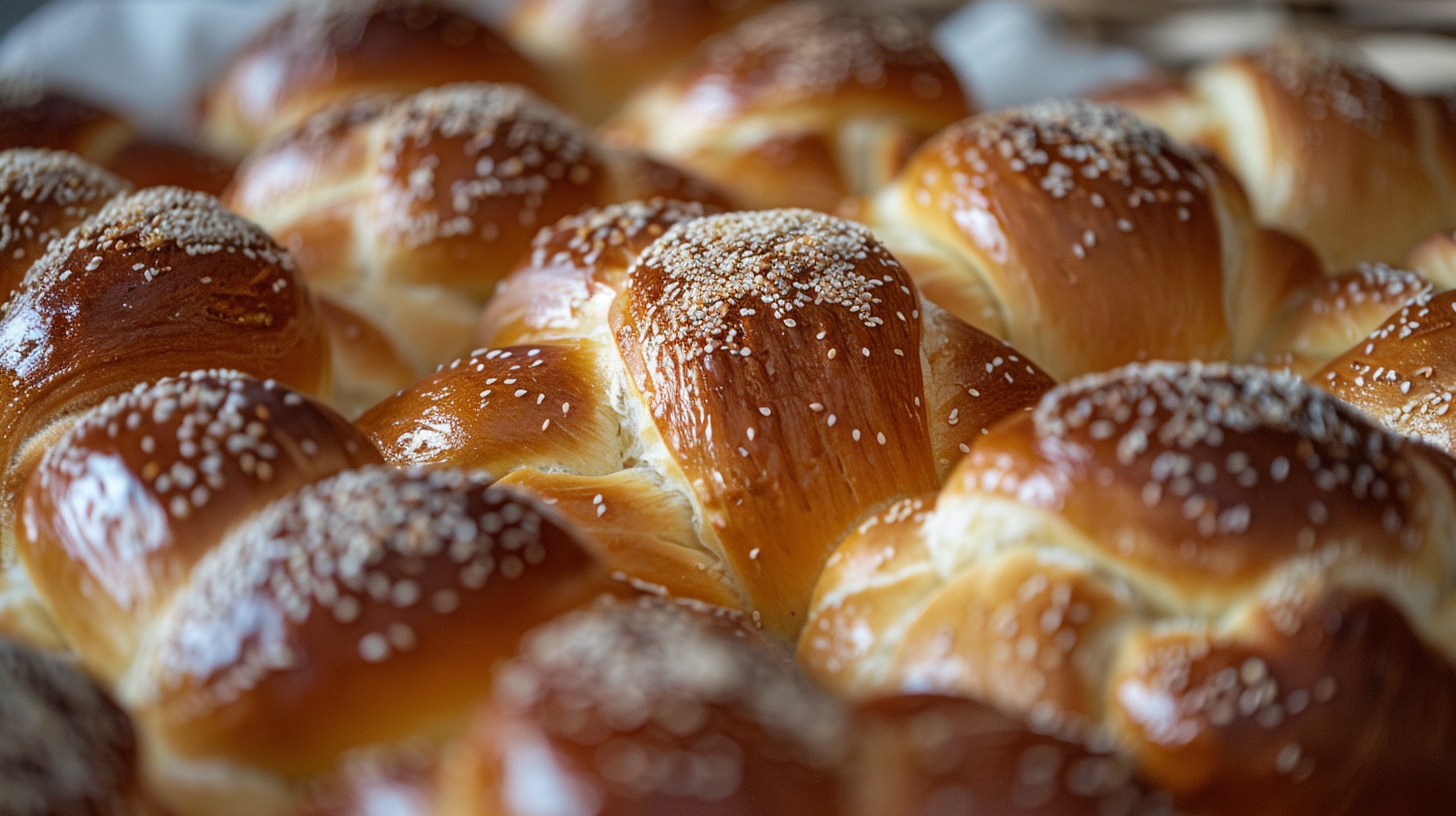
Challah dinner rolls are a traditional Jewish braided bread shaped into individual servings for your table. These golden, slightly sweet rolls feature a tender crumb and glossy egg-washed exterior that makes them irresistible. The rich dough requires just basic pantry ingredients and patient hands to braid, delivering restaurant-quality results in your own kitchen.
Table of Contents
| Attribute | Details |
|---|---|
| Prep Time | 25 minutes |
| Cook Time | 25 minutes |
| Total Time | 2 hours 50 minutes (includes rising) |
| Servings | 12 dinner rolls |
| Difficulty | Intermediate |
| Cuisine | Jewish |
Why This Recipe Works
I discovered the magic of homemade challah dinner rolls after years of purchasing frozen bread from the bakery section. This recipe transforms simple ingredients into rolls that rival professional bakeries through proper fermentation timing and high egg content. The enriched dough develops flavor naturally over a slow rise, creating depth without extra additives.
What makes these dinner rolls special is the balance between structure and tenderness. The combination of all-purpose flour, eggs, and oil creates a dough that holds its shape for braiding while baking up impossibly soft. Each roll features a subtle sweetness that complements both savory dinner courses and sweet breakfast spreads.
My experience baking these rolls repeatedly has shown that proper egg wash application directly affects the final appearance and texture. The glossy exterior forms during the last minutes of baking when heat causes the egg coating to set and shine. This technique separates homemade rolls from ordinary bread you’d buy elsewhere.
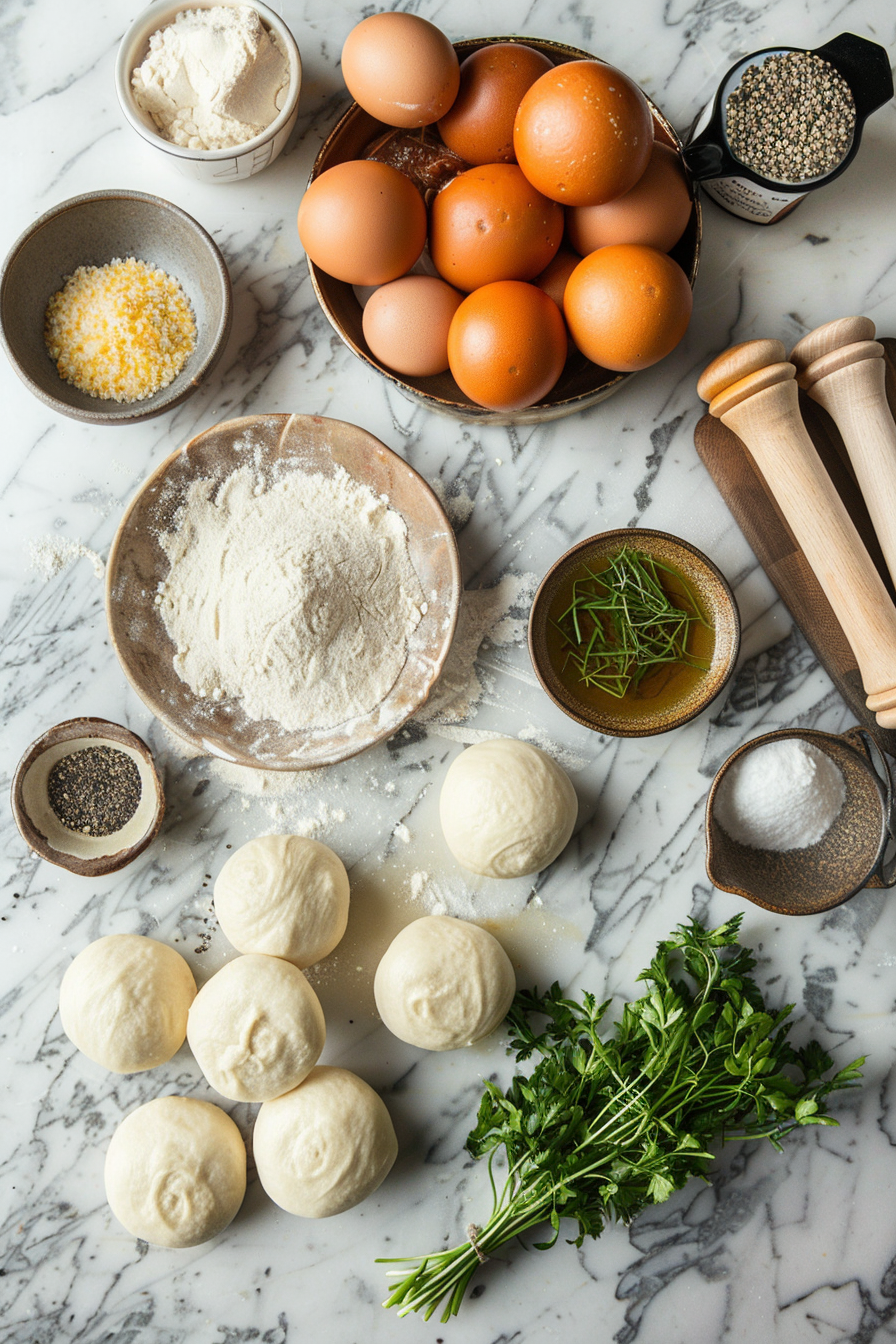
Ingredients
| Ingredient | Quantity | Notes |
|---|---|---|
| All-purpose flour | 4 cups (500g) | Bread flour (525g) creates chewier texture; all-purpose works perfectly for tender rolls |
| Instant yeast | 2 teaspoons (7g) | Active dry yeast works if proofed; do not use rapid-rise varieties |
| Granulated sugar | 3 tablespoons (38g) | Honey (3 tablespoons) adds complexity; agave syrup works as substitute |
| Fine sea salt | 1.5 teaspoons (9g) | Kosher salt requires measurement by weight; table salt slightly saltier |
| Large eggs | 4 whole eggs | Room temperature eggs incorporate better; separate 1 egg for wash |
| Vegetable oil | 1/4 cup (60ml) | Olive oil imparts flavor; neutral oil for pure bread taste |
| Warm water | 3/4 cup (180ml) | Temperature 110°F (43°C) optimal; test with wrist like baby formula |
| Sesame or poppy seeds | 2 tablespoons (optional) | Classic topping; toasted sesame adds nuttiness; omit for plain rolls |
Step-by-Step Instructions
Phase 1: Dough Development
- Combine warm water, sugar, and instant yeast in a small bowl, then let sit for 5 minutes until foamy on the surface.
- Mix flour and salt together in a large mixing bowl using a whisk to distribute salt evenly.
- Create a well in the flour mixture and add the yeast mixture, 4 eggs, and vegetable oil.
- Stir with a wooden spoon until shaggy dough forms, then knead for 8 minutes until smooth and elastic.
- Transfer dough to an oiled bowl, cover with plastic wrap, and let rise at room temperature for 1 hour until doubled in size.
Phase 2: Shaping and Second Rise
- Turn dough onto a lightly floured surface and gently press out air without deflating completely.
- Divide dough into 12 equal pieces using a bench scraper or sharp knife.
- Roll each piece into a 12-inch rope, tapering the ends slightly for traditional challah appearance.
- Braid three ropes together on a parchment-lined baking sheet, pinching ends to seal, then repeat with remaining dough to form 4 braided rolls.
- Cover braided rolls loosely with plastic wrap and let rise for 45 minutes until puffy but not completely doubled.
Phase 3: Finishing and Baking
- Preheat oven to 375°F (190°C) with rack positioned in the upper-middle position.
- Beat the reserved egg with 1 tablespoon water to create egg wash, then brush generously over each braided roll.
- Sprinkle sesame or poppy seeds over egg wash if using, then place in preheated oven.
- Bake for 22-27 minutes until deep golden brown and internal temperature reaches 190°F (88°C) when measured with instant-read thermometer.
- Transfer baking sheet to a wire cooling rack for 10 minutes before serving.
Chef Tips for Perfect Results
- Use room-temperature eggs for better dough incorporation: cold eggs create lumps and require longer mixing time that overdevelops gluten.
- Test water temperature with your wrist before adding to yeast, exactly like checking baby formula, as water hotter than 120°F kills yeast.
- Braid loosely without tension since the rolls continue expanding during the second rise and baking, and tight braiding restricts proper oven spring.
- Apply egg wash only to visible surfaces after the final rise to avoid creating a waterproof barrier that prevents browning in crevices.
- Use an instant-read thermometer to verify doneness at 190°F internal temperature, which guarantees fully baked centers without overbaking the exterior.
- Let rolls cool for at least 10 minutes before serving to allow the crumb structure to set, preventing gumminess when eaten warm.
Common Mistakes to Avoid
Mistake 1: Using Water That’s Too Hot Hot water above 120°F kills the yeast cells immediately, preventing any fermentation and resulting in flat, dense rolls. Fix this by always testing water temperature on your inner wrist where skin is sensitive, matching the sensation of warm bathwater.
Mistake 2: Braiding Too Tightly Tight braiding restricts dough expansion during proofing and baking, creating dense interiors and poor oven spring. Instead, braid with gentle pressure and allow extra rise time after shaping to accommodate the expansion that naturally occurs when heat activates remaining yeast.
Mistake 3: Skipping the Second Rise Rushing directly to the oven after shaping produces bread-like texture instead of light, tender rolls due to insufficient gas development. Allow the full 45-minute second rise, testing for doneness by gently poking the dough, which should spring back slowly rather than immediately.
Mistake 4: Over-Kneading After First Rise Aggressive kneading after the bulk fermentation breaks down glutens that provide structure, resulting in loose crumb and flat rolls that spread sideways instead of rising. Handle the dough gently when dividing and shaping, treating it like a delicate pastry rather than dense bread dough.
Mistake 5: Missing the Internal Temperature Window Baking by appearance alone leads to either gummy centers or dry, crumbly texture since outsides brown before interiors bake through. Use an instant-read thermometer inserted into the thickest part of the roll to confirm 190°F, the exact point where starches set and structure firms.
Variations and Substitutions
| Ingredient | Substitution | Impact on Flavor and Texture |
|---|---|---|
| All-purpose flour | Bread flour (520g total) | Creates chewier crumb with more structure; requires slightly less water due to higher protein content |
| Granulated sugar | Honey (3 tablespoons) or maple syrup | Adds subtle depth and slight caramel notes; honey creates darker browning and slightly softer crumb |
| Vegetable oil | Melted butter or coconut oil | Butter creates richer flavor with slightly denser crumb; coconut oil imparts subtle tropical undertone |
| Instant yeast | Active dry yeast (same amount, proof first) | Takes slightly longer to activate; requires 10-minute bloom in warm water before adding to flour |
| Sesame seeds | Za’atar, nigella seeds, or flax seeds | Za’atar adds Mediterranean herb notes; nigella provides subtle peppery flavor; flax seeds add nuttiness |
| Three-strand braid | Round rolls, spiral shapes, or four-strand braid | Round rolls bake faster and more evenly; spiral shapes appear elegant; four-strand braid requires more dough practice |
Serving Suggestions and Pairings
Serve challah dinner rolls warm during Shabbat dinner as part of the traditional bread blessing ritual, pairing them with herb-infused olive oil for dipping. These rolls accompany roasted chicken, gefilte fish, and brisket beautifully, absorbing delicious pan juices from the main course. For breakfast, toast cooled rolls and spread with whipped honey butter or jam for a sweet treat.
Present warm rolls in a linen-lined bread basket at holiday meals including Rosh Hashanah, Hanukkah celebrations, or Passover seders when made with appropriate adaptations. Guests appreciate the homemade quality during holiday entertaining, and the braided presentation adds visual appeal to formal tables. Cold rolls transform into excellent sandwich bread the following day, holding up well to hearty fillings without falling apart.
Pair these rolls with traditional Jewish soups like matzo ball broth or beet borscht, where the bread’s slight sweetness balances savory broths. Serve alongside smoked salmon, cream cheese, and capers for elegant brunch entertaining, or crumble day-old rolls for breadcrumb bases in kugel recipes. The tender crumb makes them suitable for children and seniors who prefer softer bread options.
Storage and Reheating
| Method | Duration | Instructions |
|---|---|---|
| Room Temperature | 2-3 days | Store in airtight container or resealable bag at room temperature; place parchment between layers to prevent sticking |
| Refrigerator | 5-7 days | Place cooled rolls in airtight container on middle shelf; cold storage slows staling but adds moisture that softens crust |
| Freezer | Up to 3 months | Wrap individual rolls tightly in plastic wrap, then aluminum foil; label with baking date for reference |
| Oven Reheating | 5-8 minutes | Preheat oven to 350°F, place rolls on baking sheet, cover loosely with foil, and warm until soft throughout |
| Microwave Reheating | 20-30 seconds | Wrap individual roll in damp paper towel to add moisture, microwave in 15-second intervals to prevent hardening |
| Toaster Oven | 6-10 minutes | Slice rolls horizontally, place on rack, and toast at 375°F until edges crisp while interiors stay tender |
Nutritional Information
| Nutrient | Amount per Serving |
|---|---|
| Calories | 245 |
| Total Fat | 8g |
| Saturated Fat | 1.5g |
| Cholesterol | 65mg |
| Sodium | 290mg |
| Total Carbohydrates | 38g |
| Dietary Fiber | 1.2g |
| Sugars | 3g |
| Protein | 8g |
Approximate values based on 12 rolls per batch. Nutritional information does not include optional seed topping.
Frequently Asked Questions
Can I substitute all-purpose flour with whole wheat flour for challah dinner rolls?
Whole wheat flour requires additional water since it absorbs more liquid than all-purpose flour, and the resulting texture becomes denser with nutty flavor that masks the subtle sweetness of traditional challah. Use a maximum of 25 percent whole wheat flour mixed with 75 percent all-purpose flour to maintain the tender crumb while adding whole grain nutrition. Add an extra 2-3 tablespoons of water if using the wheat flour blend to reach proper dough consistency.
How do I know when the dinner rolls reach the perfect doneness?
Insert an instant-read thermometer into the thickest part of a roll to confirm the internal temperature reaches 190°F, the exact point where starches gelatinize and crumb structure sets properly. The exterior should display deep golden brown color without pale or dark spots, and the rolls should sound hollow when tapped on the bottom. Remove from the oven immediately when reaching 190°F to prevent overdrying or hard crusts.
What causes my braided dinner rolls to flatten during baking instead of rising upward?
Flattening occurs from over-braiding with too much tension, overproofing during the second rise past the puffy stage, or insufficient gluten development during initial kneading. Braid more gently and allow exactly 45 minutes for the second rise, testing by poking with your finger, where the dough should spring back slowly. Ensure you knead for the full 8 minutes during phase one to develop adequate gluten structure that provides lift.
Can I prepare the dough ahead and bake the rolls the next morning for busy weekday breakfasts?
Yes, prepare the dough through the end of phase one, then refrigerate in an oiled bowl covered tightly for up to 12 hours, allowing cold fermentation to deepen flavor and improve texture. Remove from refrigerator, divide into 12 pieces, braid slowly allowing 30 minutes longer than room-temperature rise time, then bake as directed. The cold fermentation actually improves the bread’s flavor complexity and crust browning due to extended enzyme activity.
How many challah dinner rolls should I serve per person for a formal dinner party or holiday gathering?
Plan for 1.5 to 2 dinner rolls per person as a bread course component alongside main dishes and sides, or 1 roll per person if serving multiple bread options like regular dinner rolls or matzah. This quantity provides satisfying bread portions without creating excessive leftovers, and the braided presentation serves as an elegant table focal point. For holiday meals where bread plays a ceremonial role, consider one larger decorative braided loaf plus individual rolls to balance visual impact and portion control.
Conclusion
Homemade challah dinner rolls transform a simple enriched dough into elegant centerpieces for your table through patient braiding and proper fermentation timing. This recipe delivers consistent results using basic ingredients found in most kitchens, elevating ordinary dinners into memorable occasions. The golden exterior and tender crumb make these rolls irresistible straight from the oven, celebrating the fundamental pleasure of exceptional homemade bread.
Discover our collectionrecipes for additional inspiration when you’re ready to expand your cooking repertoire.
Save your favorite recipes and discover new ideas by following us on Pinterest for daily food inspiration.